Capturing the best light in photography is an art that can elevate your images from ordinary to extraordinary. Whether you’re shooting portraits, landscapes, or events, understanding how to harness light is essential. In this blog, we will explore five tips that will help you capture the best light. These tips are designed to integrate seamlessly with Iris Works, a studio management CRM for photographers. Not only will you improve your lighting techniques, but you’ll also streamline your workflow using Iris Works. your new post
1. Golden Hour Magic
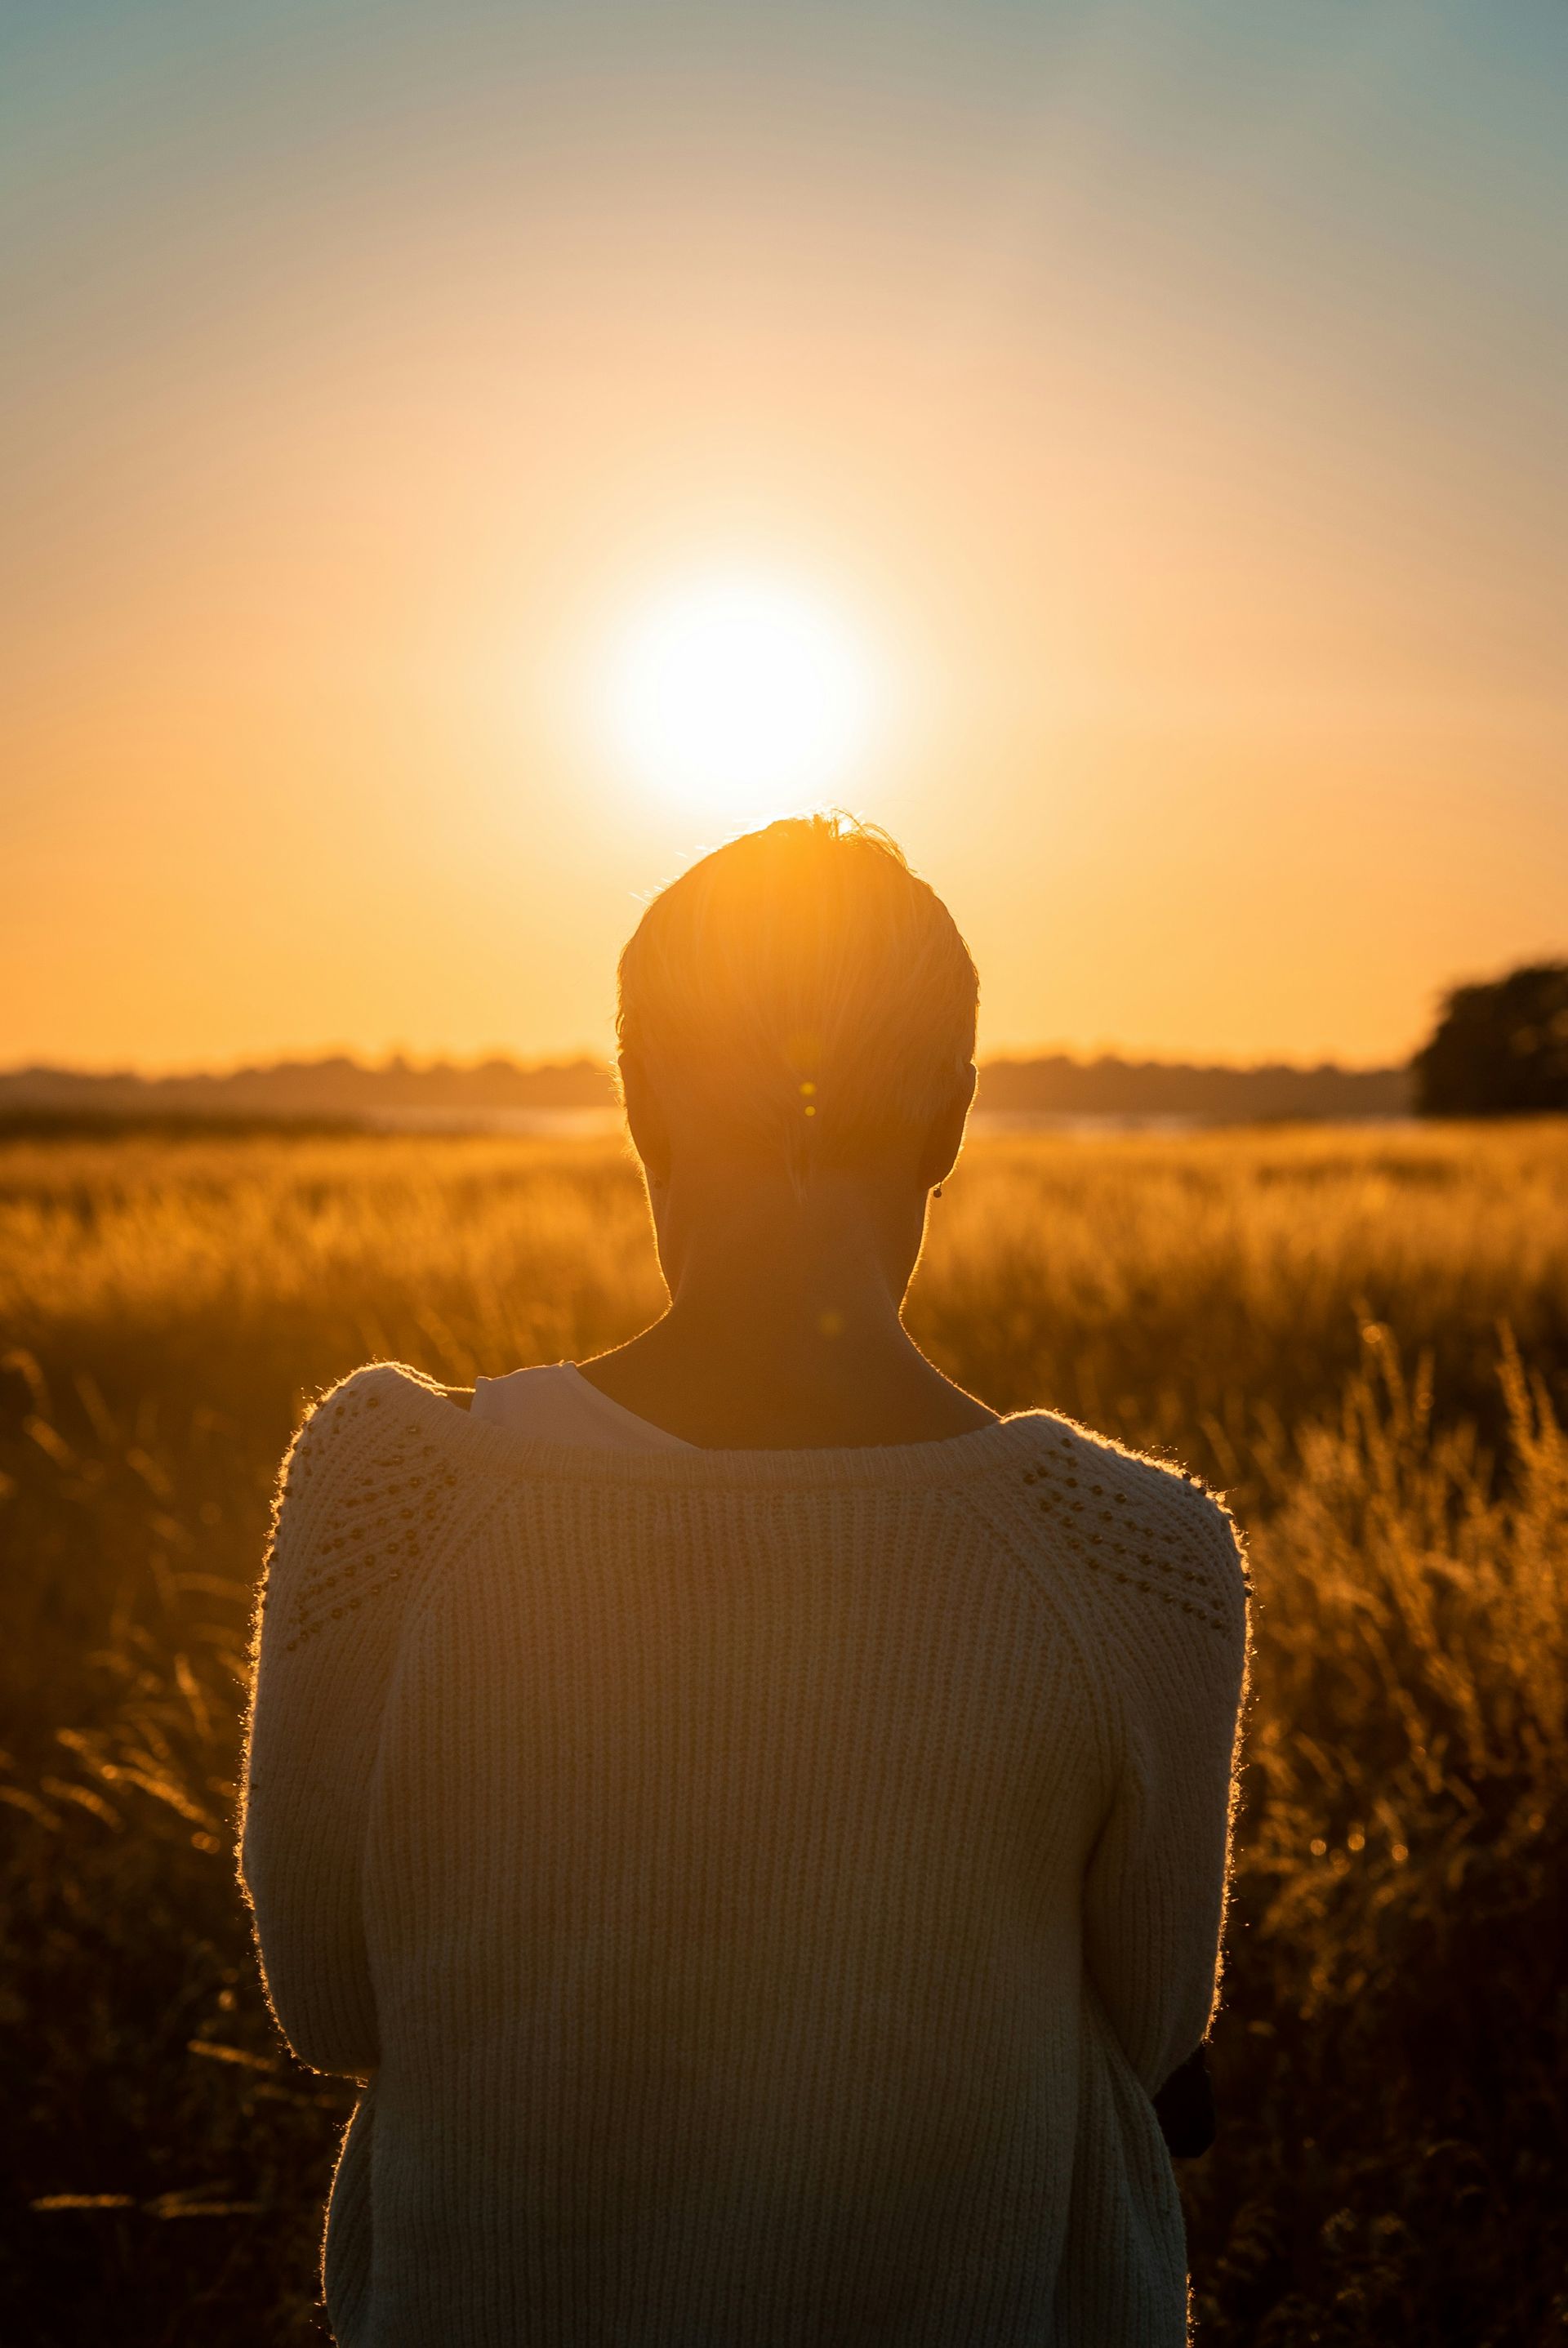
The golden hour is renowned for providing the best light for photography. This period occurs shortly after sunrise and before sunset. The light is soft, warm, and flattering. It reduces harsh shadows and highlights, giving your subjects a natural glow. However, timing is crucial. The golden hour window is brief, so planning is essential.
To make the most of this opportunity, schedule your shoots using Iris Works. Its scheduling tools allow you to plan shoots around the golden hour. For instance, you can set reminders to notify clients of the optimal time for outdoor sessions. This ensures that you’re always prepared to capture the best light. Furthermore, Iris Works’ calendar synchronization can help you avoid overbooking during these prime hours.
Additionally, by using Iris Works to manage client communications, you can educate your clients on the benefits of shooting during the golden hour. This can lead to more collaborative and informed sessions, resulting in stunning photos that showcase the best light.
2. Understanding Natural vs. Artificial Light
Understanding the differences between natural and artificial light is crucial for capturing the best light. Natural light is unpredictable but can be beautiful when harnessed correctly. On the other hand, artificial light offers control and consistency, allowing you to create specific moods and effects.
For example, when shooting indoors, you might need to rely on artificial lighting to achieve the desired look. Conversely, outdoor sessions may depend entirely on natural light, which can be affected by weather conditions and time of day. The challenge lies in balancing these two sources to achieve the desired effect.
To master this balance, experiment with different lighting setups in various environments. Practice shooting in natural light at different times of the day and under various weather conditions to understand how it affects your images. Similarly, experiment with artificial light sources, such as strobes, continuous lights, and modifiers, to learn how they can enhance or mimic natural light. The more you practice, the better you’ll become at adapting to different lighting scenarios.
Moreover, understanding the characteristics of light—such as color temperature, intensity, and direction—can help you make informed decisions on how to use both natural and artificial light effectively. This knowledge will allow you to control the mood and atmosphere of your images, ensuring that you capture the best light in any situation.
3. Mastering Backlighting Techniques
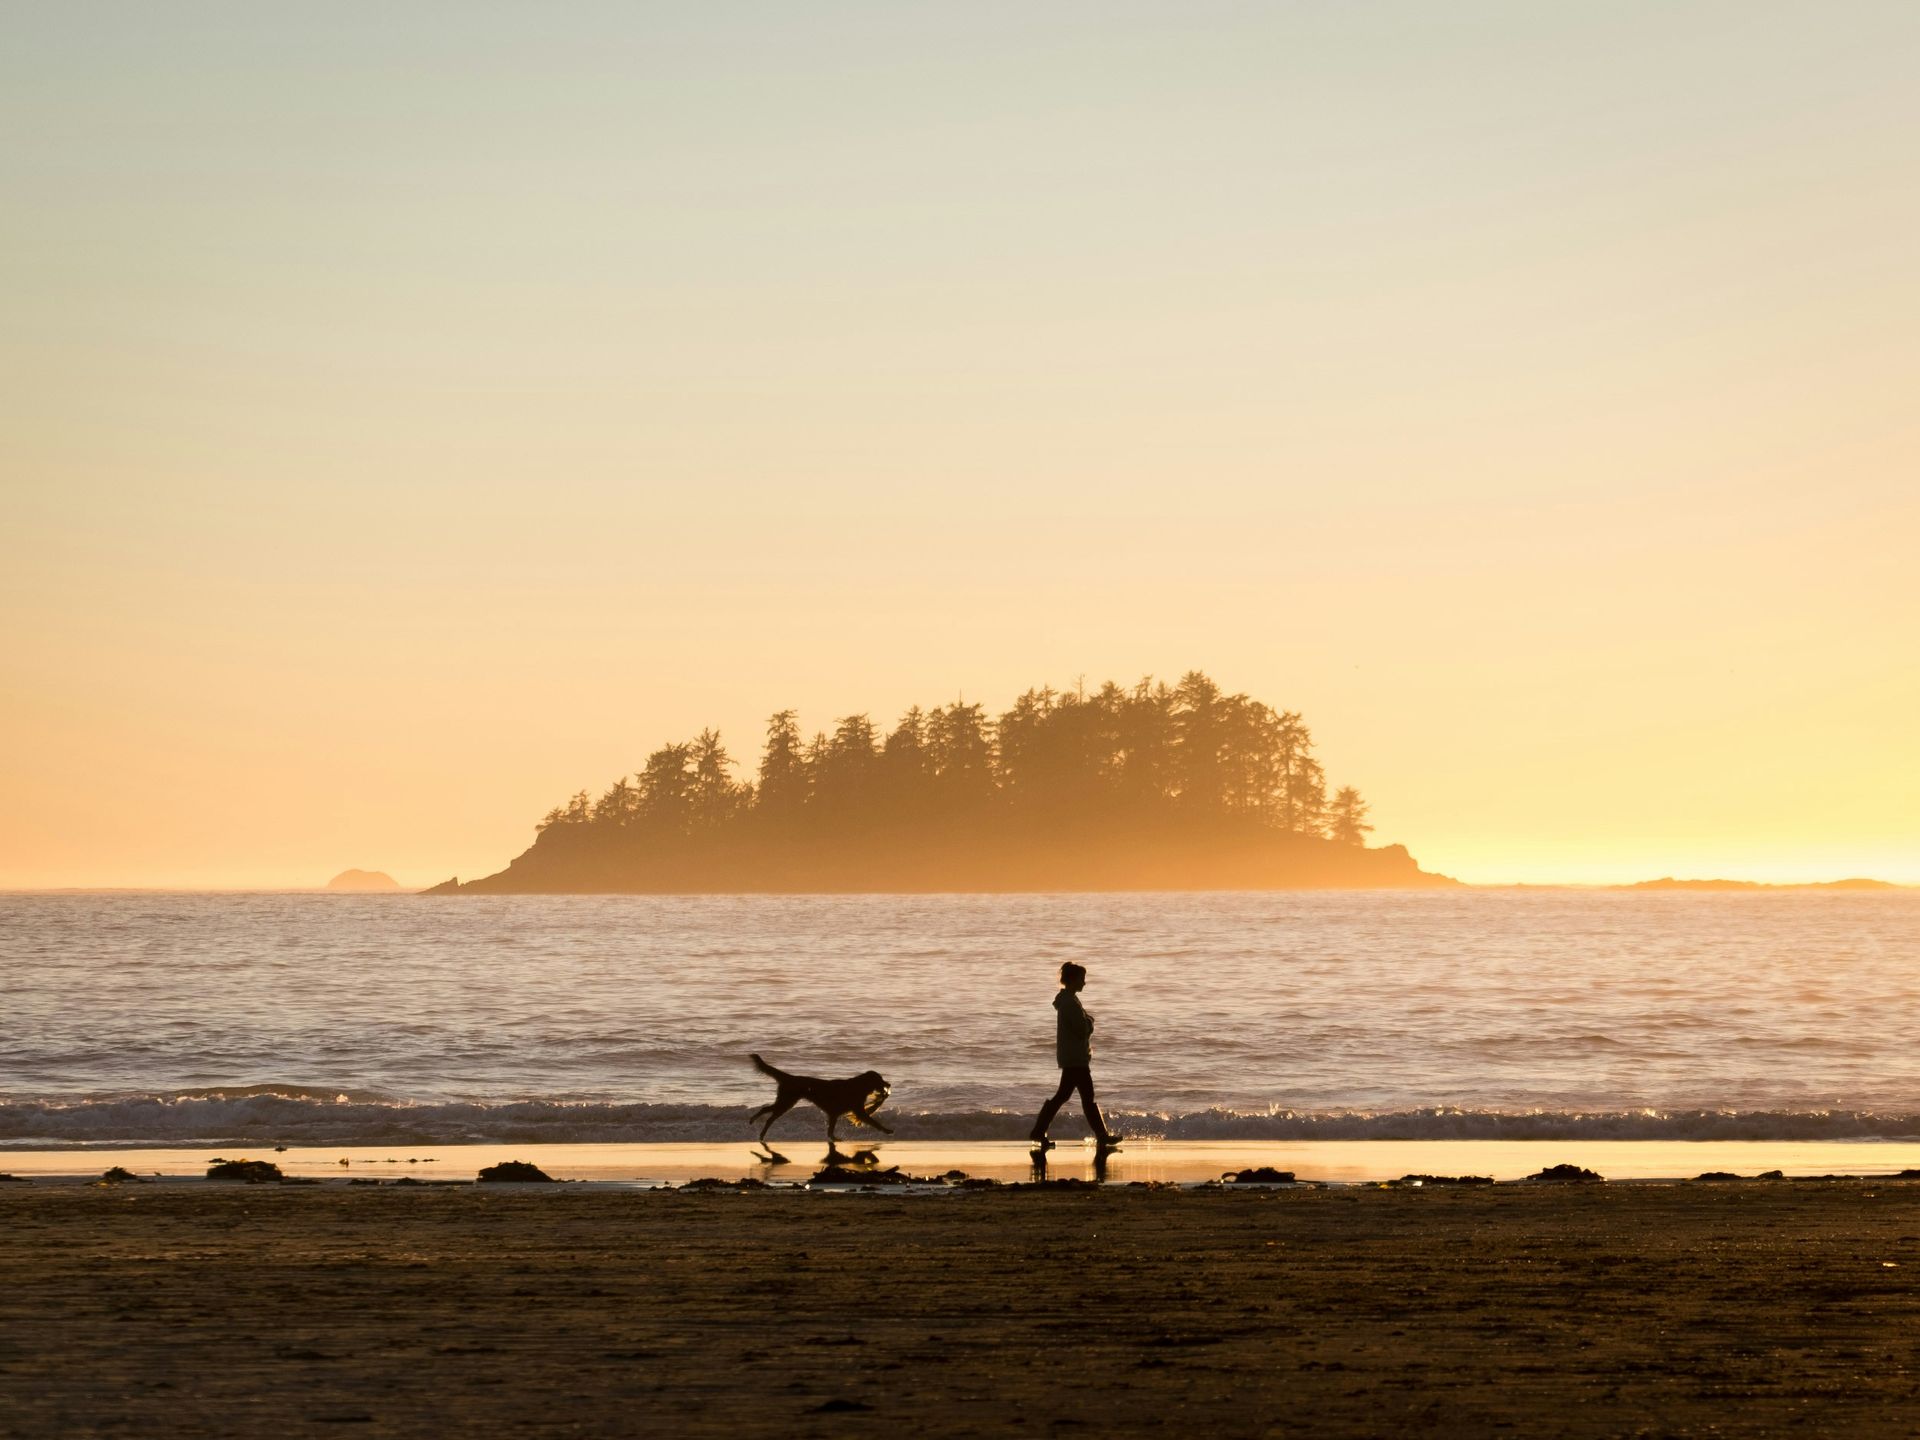
Backlighting is a powerful technique for capturing the best light. It involves positioning the light source behind the subject, creating a glow around the edges that adds depth and drama to the image. This technique can create stunning silhouettes, enhance the texture of hair and clothing, and add a sense of mystery to your photos.
However, mastering backlighting requires precision. You must avoid overexposure while ensuring that the subject remains properly lit. To achieve this, experiment with different angles and adjust your camera settings, such as exposure compensation and metering mode, to maintain detail in both the subject and the background.
In addition, consider using reflectors or fill lights to illuminate the front of the subject, balancing the strong backlight and preventing your subject from becoming too dark. This technique allows you to capture the dramatic effects of backlighting while still showcasing your subject’s features.
Review your backlit shots carefully, selecting the best ones that showcase effective use of this technique. Over time, you’ll develop a keen eye for recognizing when backlighting will enhance your composition and when it might overpower the scene.
4. Utilizing Reflectors and Diffusers
Reflectors and diffusers are essential tools for manipulating light. Reflectors can bounce light onto your subject, reducing shadows and adding warmth. Conversely, diffusers soften harsh light, creating a more even and flattering effect.
Using these tools can be the difference between a good photo and a great one. However, it’s important to know when and how to use them. For instance, in harsh midday sunlight, a diffuser can soften the light, making it more manageable. Alternatively, a reflector can brighten up shadowy areas, adding dimension and detail to your subject.
To effectively use reflectors and diffusers, practice positioning them at different angles and distances from your subject. Notice how changing the angle of a reflector can alter the intensity and direction of the light. Similarly, experiment with placing diffusers close to or far from your subject to see how it affects the softness of the light. By understanding how these tools interact with light, you’ll be able to use them creatively to enhance your images.
Furthermore, make sure to carry a variety of reflectors and diffusers in different sizes and colors. This allows you to adapt to various lighting conditions and achieve the best results. Over time, you’ll develop a sense of when to reach for a reflector versus when a diffuser is the better choice, enabling you to manipulate light with confidence.
5. Adapting to Changing Light Conditions
Light conditions can change rapidly, especially when shooting outdoors. Clouds can obscure the sun, or the light can shift as the day progresses. Being adaptable and ready to adjust your approach is key to capturing the best light.
For this reason, always have a backup plan. For instance, if the weather changes unexpectedly, you may need to switch from natural light to artificial light or reschedule the session. Having a range of portable lighting equipment, such as off-camera flashes or LED panels, can be invaluable in these situations, allowing you to maintain control over your lighting despite changing conditions.
In addition, learn to read the light as you shoot. Pay attention to how the quality, direction, and color of light evolve during the day, and be prepared to adjust your settings and techniques accordingly. For example, if the light becomes too harsh, you might need to move your subject to a shaded area or use a diffuser to soften the light. Conversely, if the light becomes too dim, you might need to increase your ISO or use a reflector to add more light to the scene.
Keeping a log of past shoots and their lighting conditions can also help you anticipate and prepare for changes. By learning from experience, you can refine your approach to capturing the best light, ensuring that you’re always ready to adapt to whatever the day brings.
Conclusion
Capturing the best light is essential for any photographer. By understanding and mastering various lighting techniques, you can create images that stand out. Using tools like Iris Works, you can manage your sessions, and client communications efficiently. This allows you to focus on what you do best—creating beautiful photographs.
In fact, integrating Iris Works into your photography business can streamline your workflow and enhance your ability to capture the best light. Moreover, by being prepared and adaptable, you ensure that every shoot is a success. So, whether you’re shooting during the golden hour, mastering backlighting, or adapting to changing conditions, these tips will help you consistently capture the best light.
Recent posts