Low light photography can be tricky, but it’s also where some of the most dramatic and captivating images are created. Whether you’re shooting during the blue hour, indoors with limited light, or capturing the magic of cityscapes at night, mastering the art requires practice and a solid understanding of key techniques. Here are 10 essential low light photography tips that will help you capture sharp, well-exposed photos, even in challenging conditions.
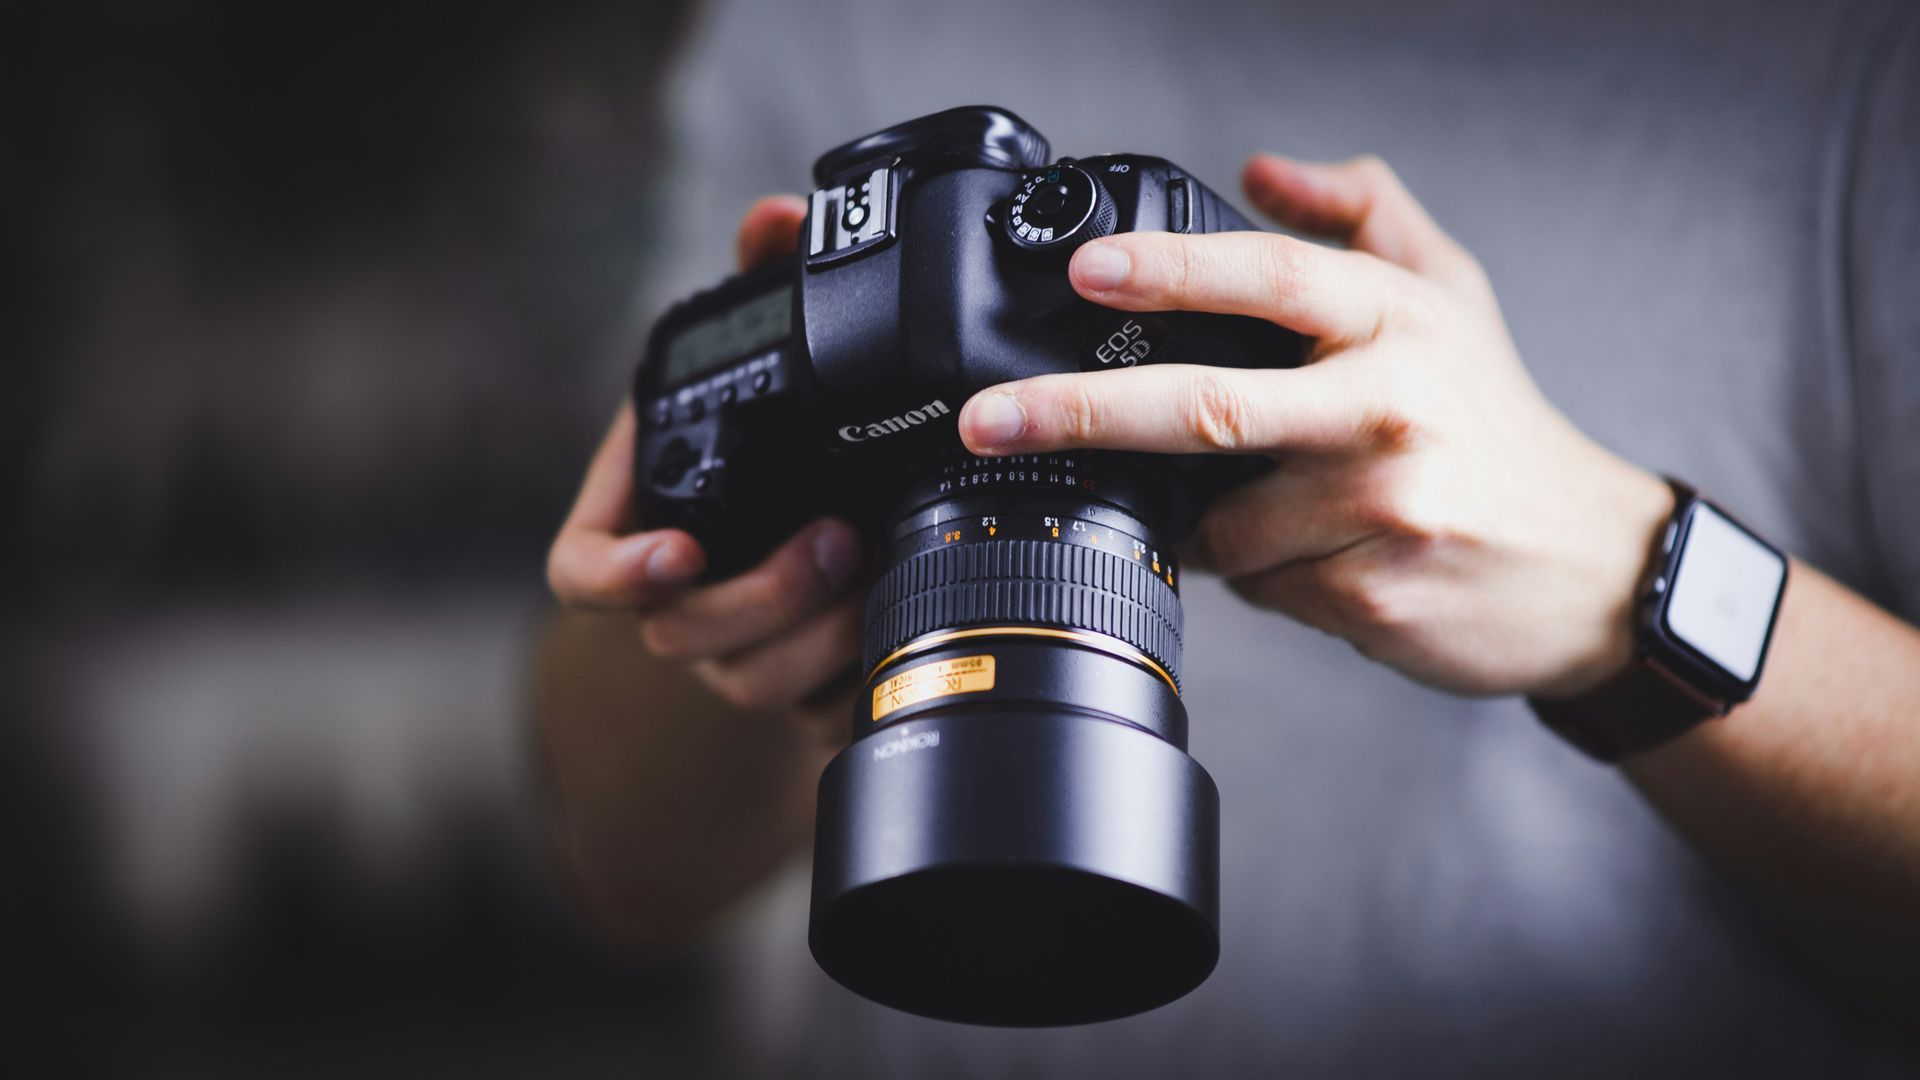
1. Stabilize Your Camera
One of the most important low light photography tips is to ensure your camera remains steady. Even minor shakes can lead to blurry photos, especially when using slower shutter speeds.
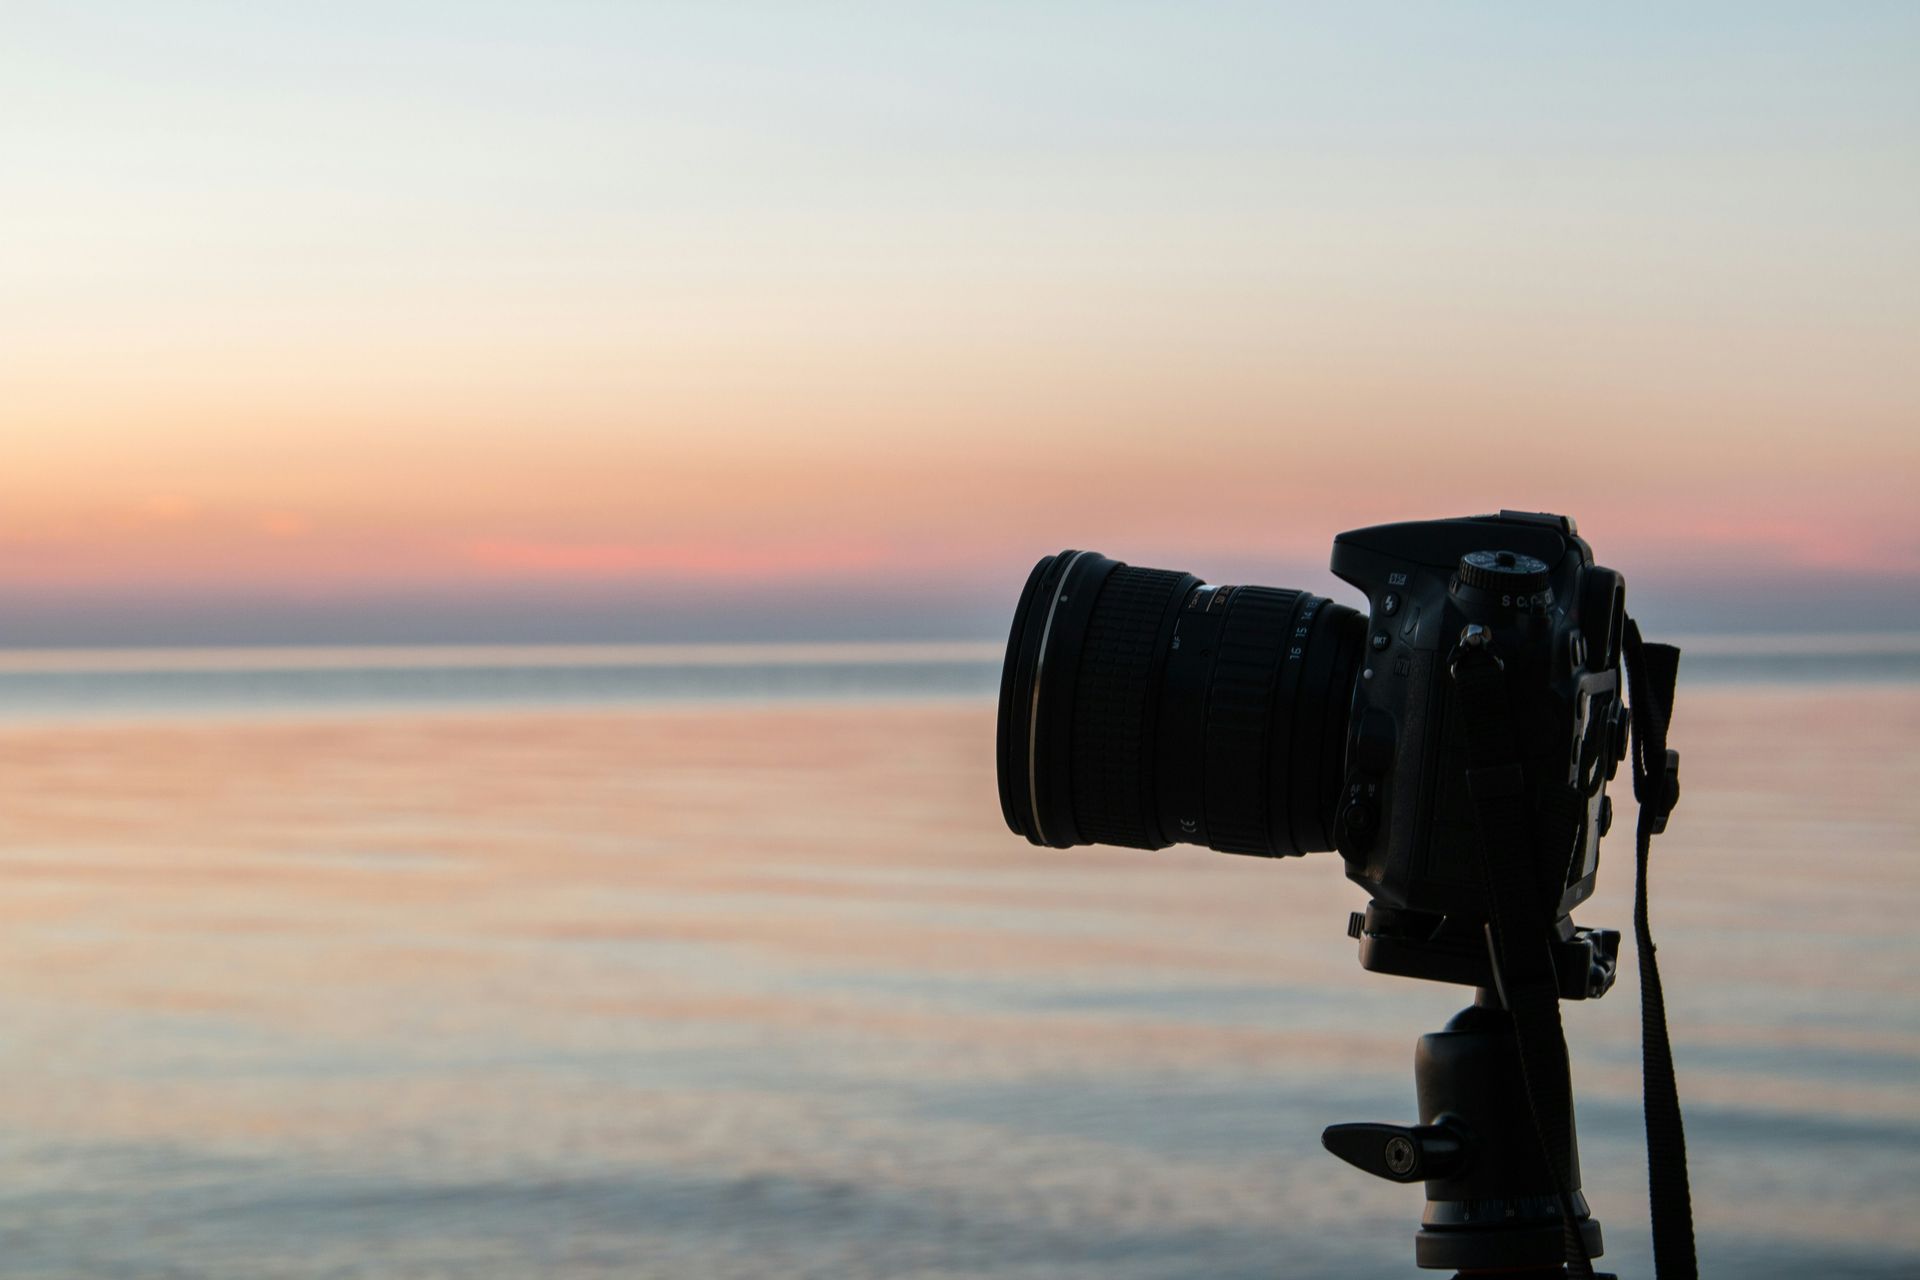
- Use a tripod: A stable tripod is crucial for long exposures and low light scenes.
- Leverage solid surfaces: If a tripod isn’t handy, rest your camera on a stable surface like a wall or table.
- Use a remote shutter or timer: This prevents any movement caused by pressing the shutter button.
2. Open Up Your Aperture
A key tip in low light photography is to use a wide aperture, which allows more light to enter the lens.
- Select a low f-stop (e.g., f/1.8 or f/2.8): Wider apertures help brighten your images in dim conditions. However, be aware that this also reduces depth of field, so your subject may be sharp while the background is blurred.
3. Boost Your ISO Sensitivity
Increasing your camera’s ISO is a vital low light photography tip, but it requires careful balance.
- Start with a moderate ISO (around 800-1600): While increasing ISO makes your camera more sensitive to light, it also introduces noise (grain). Modern cameras handle higher ISO better, so test your camera’s limits.
4. Slow Down Your Shutter Speed
Shutter speed is another critical factor in low light photography. A slower shutter allows more light onto the sensor.
- Use a slow shutter speed: Speeds like 1/15 or 1/30 can work, but remember that stabilization is key to avoid motion blur.
5. Utilize Available Light Sources
One of the simplest low light photography tips is to make the most of any available light.
- Identify natural and ambient light: Streetlights, neon signs, or even the glow from a screen can be used to illuminate your subject creatively.
- Position your subject effectively: Place them where light naturally enhances their features, creating interesting highlights and shadows.
6. Switch to Manual Focus
In low light situations, autofocus can struggle. A helpful tip is to switch to manual focus for more precision.
- Use focus peaking if your camera offers it: This feature highlights the areas in focus, making it easier to fine-tune.
- Zoom in when using live view: This ensures your subject is sharp before capturing the shot.
7. Shoot in RAW Format
A vital low light photography tip is to always shoot in RAW format. RAW files contain more data, offering greater flexibility in post-processing.
- Recover shadows and highlights: Shooting in RAW allows for better control over exposure adjustments without significant quality loss.
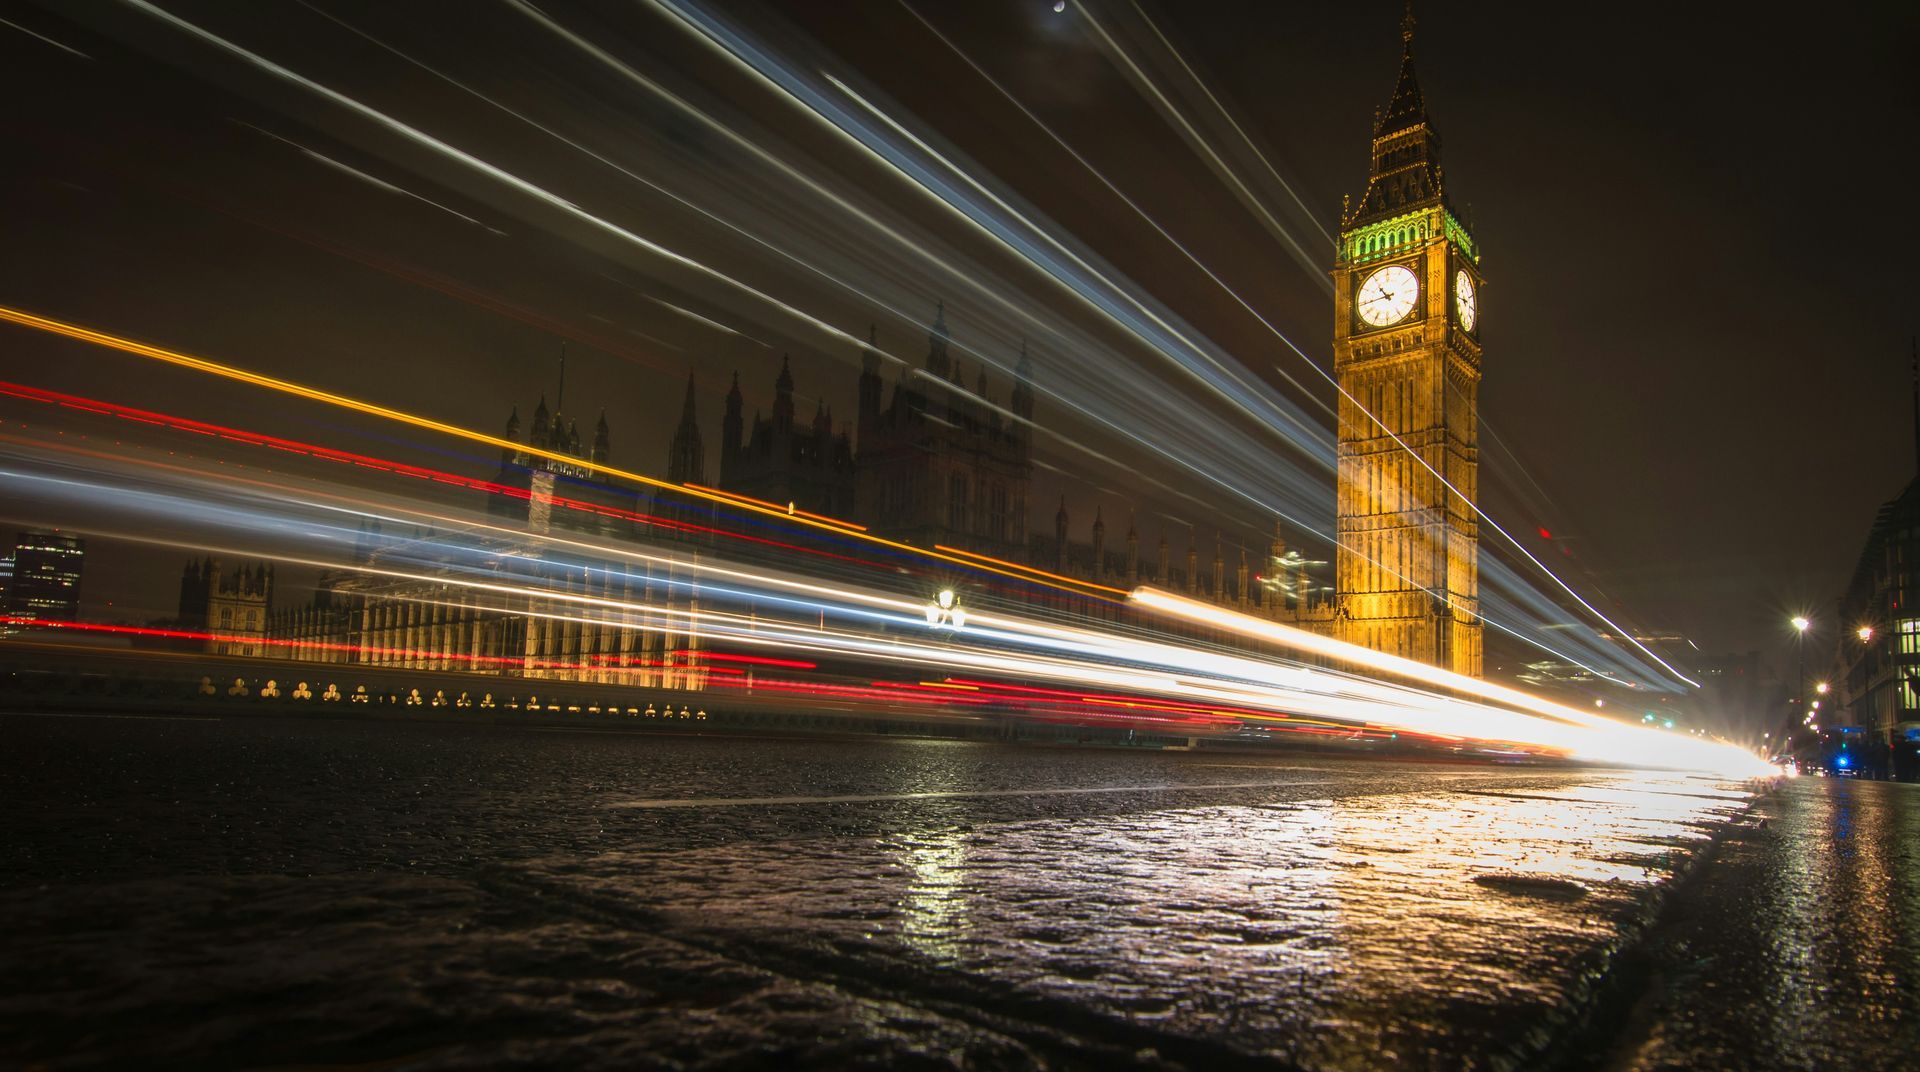
8. Experiment with Long Exposures
Long exposures can create stunning low light effects, such as light trails or smooth water. This is one of the most creative low light photography tips you can try.
- Start with a few seconds of exposure: Gradually increase the time as needed. Remember that long exposures require absolute stability, so ensure your camera is securely fixed.
9. Invest in a Fast Lens
A fast lens, with a wide maximum aperture like f/1.4 or f/1.8, is a game-changer in low light photography. This investment can make it easier to capture well-lit, sharp images in challenging lighting conditions.
10. Use Flash Creatively
While natural light is often preferred, sometimes a flash is necessary in low light. The key is to use it in a way that complements rather than overpowers the scene.
- Use an external flash: Bouncing the flash off a ceiling or wall softens the light, creating more natural results.
- Consider a diffuser: A diffuser helps spread light more evenly, reducing harsh shadows and creating a more balanced exposure.
Conclusion
These low light photography tips are designed to help you navigate the challenges of shooting in dim conditions. By understanding how to stabilize your camera, adjust your settings, and creatively work with available light, you’ll be able to capture sharp and visually compelling photos, even when the lighting is less than ideal. Practice these techniques, experiment, and soon you’ll be taking low light photos that stand out.
Start Your 14 Day Free Trial
No credit card required!
Recent posts